
Custom Actions
The sample shows how to customize the quick actions that appear underneath the Search bar.
Organizing your code
The Getting Started section details various SDK installation options depending on your requirements. The sample code below is based on a base use case of a plain html page and the ES6 module format.
Specify the Custom Actions to show
Update the config with a list of the desired Actions you wish to show using the "poiCategories" key. An action will trigger a search for the term entered on the "searchTerm" field - similar to as if the user typed it themselves. You can either specify an existing icon by adding a value for the "category" key, or a custom icon by referencing an svg id in the "svgId" field:
<html lang="en">
<head>
<script type="module">
import LMInit from 'https://maps.locuslabs.com/sdk/LocusMapsSDK.js'
const config = {
venueId: 'lax',
accountId: 'A11F4Y6SZRXH4X',
headless: false,
poiCategories: [
{"name": "Food",
"searchTerm": "food",
"category": "eat"}]
}
window.LMInit = LMInit
LMInit.setLogging(true)
LMInit.newMap('.mymap', config)
.then(m => { window.map = m; })
.catch(e => console.error('Error initializing map: ', e))
</script>
<style>
html, body, .mymap {
height: 100%; margin: 0; padding: 0;
}
</style>
</head>
<body>
<div class="mymap" style="height: 100%;"></div>
</body>
</html>Try it out
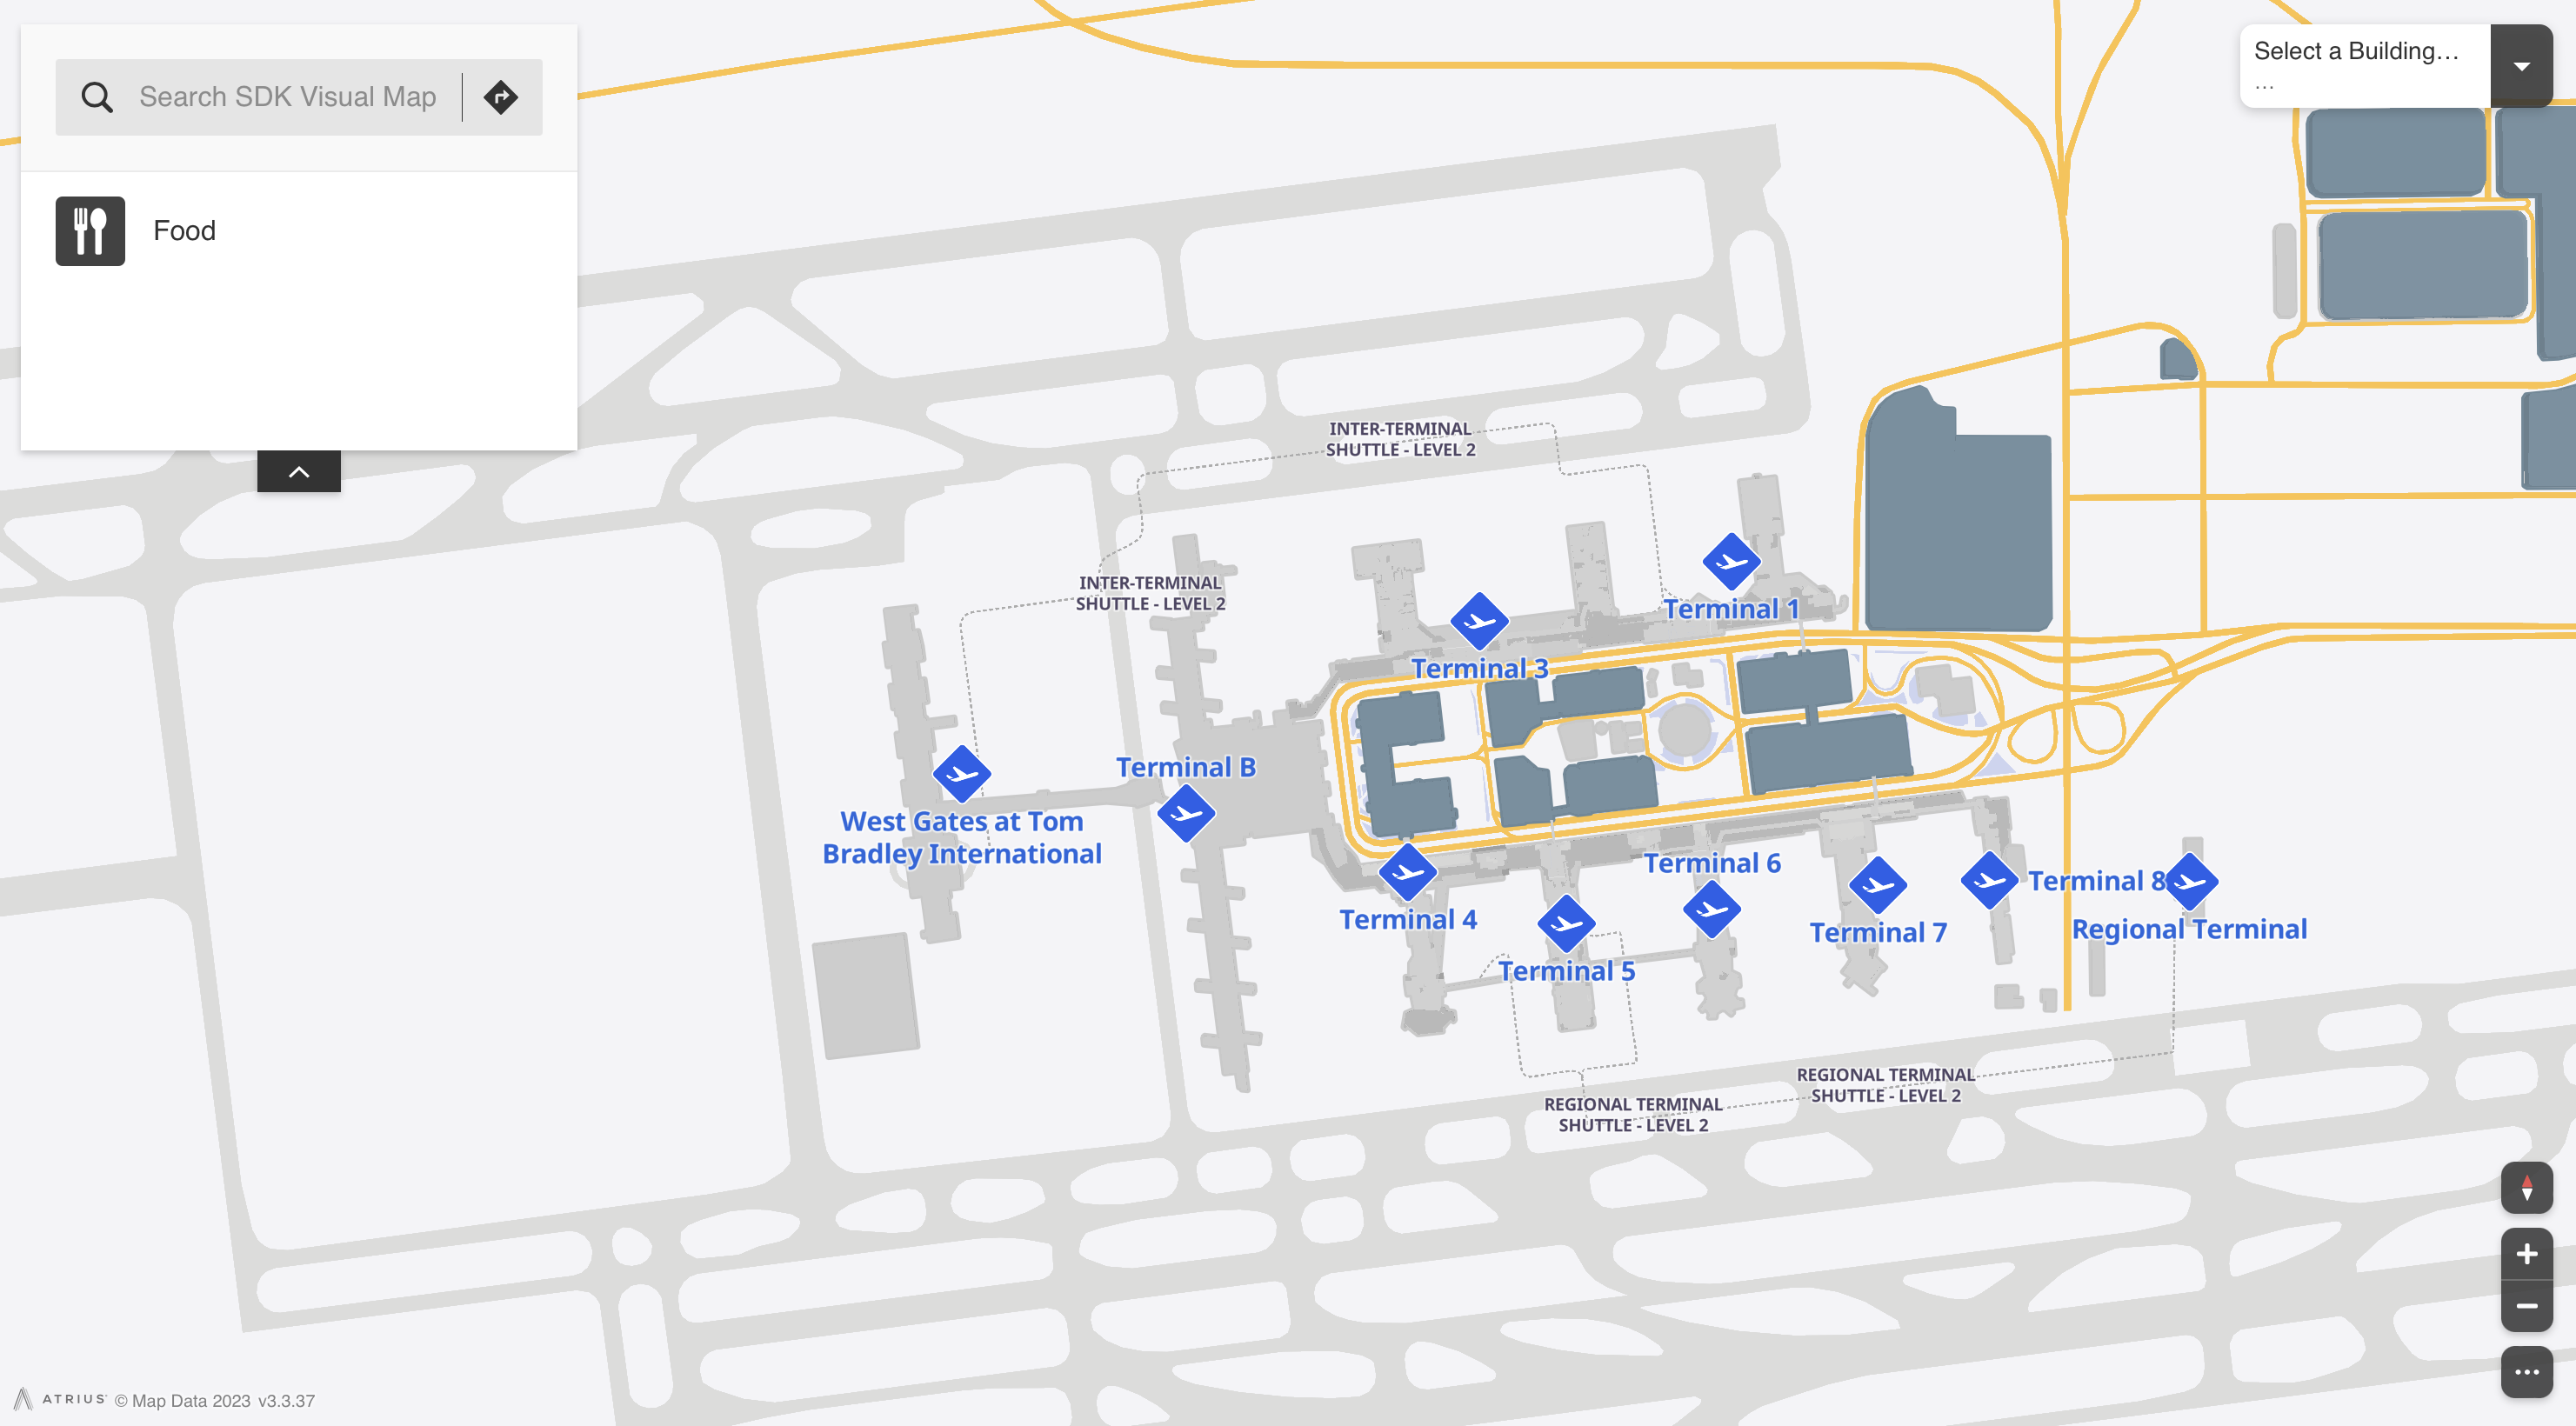
The map will appear similar to the following image, showing the Food Custom Action underneath the search bar:
Updated 2 months ago